
How Prefinished Hardwood Floors are Installed
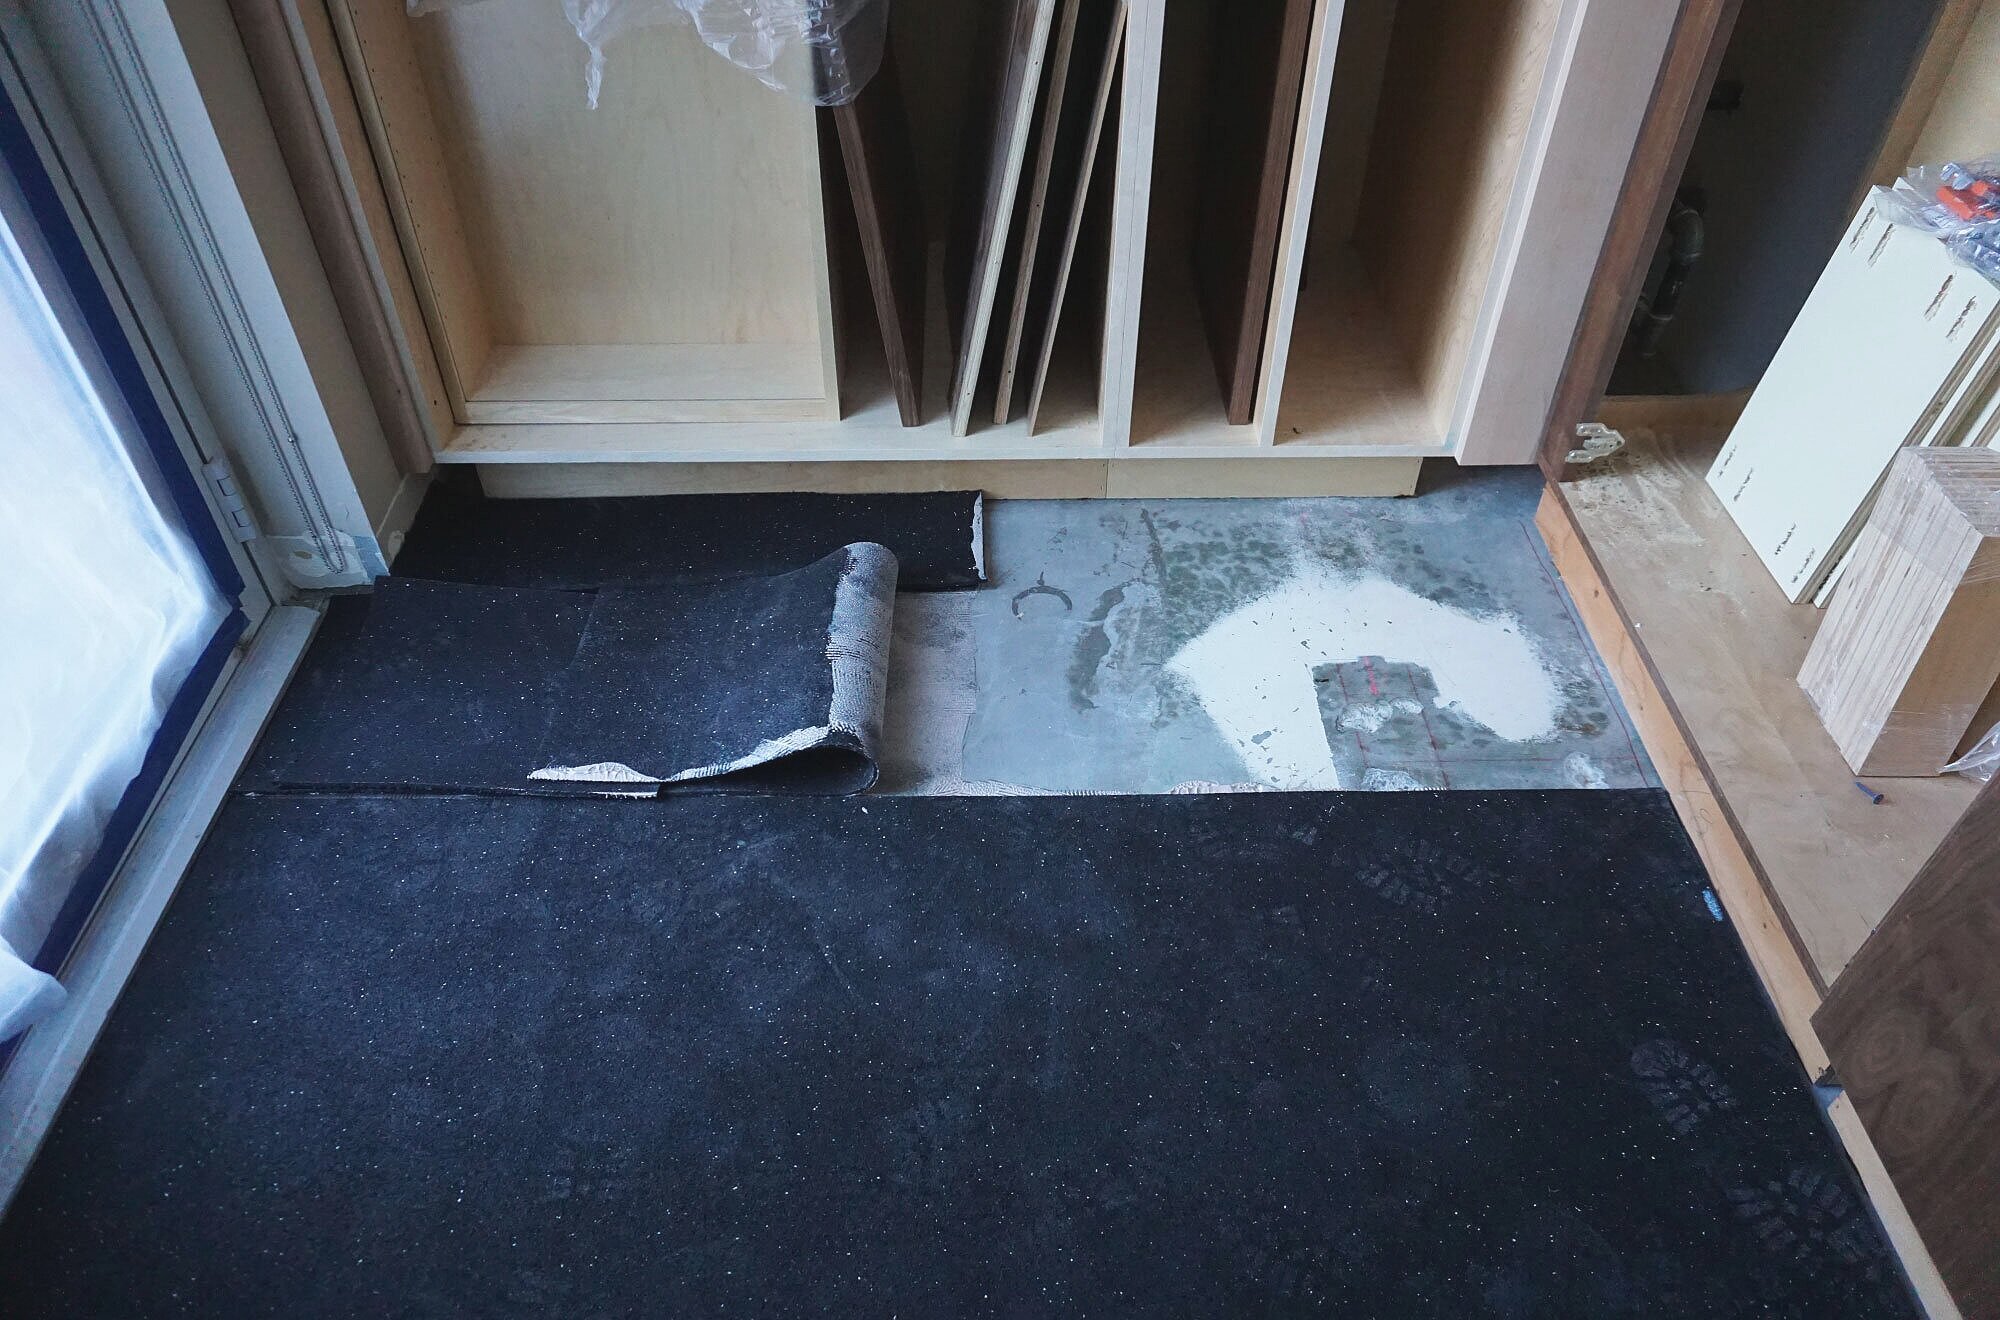
Padding on concrete floor.
Hardwood floors: a timeless staple and a hallmark of the Pacific Northwest. They add a natural look and feel to any home; so how are they installed? Our expert installer, James Brundidge at Flawless Floors, walked us through their process.
In this condo remodel, Brundidge installs pre-finished oak boards from Castle Bespoke Flooring, over a concrete floor. Before any material is installed, careful planning is required. Their first step is to install the padding that sits between the concrete surface and the wood. Chris, Olson & Jones’ superintendent, emphasizes that the seams on the pads should run in the opposite direction of the wood planks to avoid any weak points on the floor. The installers refer to the designer’s drawings to know what direction the planks should run. On this particular project, the kitchen cabinets were installed before the hardwood so the installers must cut the pieces to fit around the corners. Kind of like a large puzzle. The floor will look like a large Tetris board at this point.
Once all the padding pieces are in place, the next step is to glue the pad to the concrete floor. The adhesive is applied in a thin even coat. Next they lay the pad over the glue and roll out any air bubbles using a heavy roller. It is important that the pad be a perfectly flat surface before the wood is installed.
Once all the padding is glued down, they begin working with the hardwood. Brundidge highly suggests “mixing your bundles”. What that means is separating out wood planks from several bundles to get good color and grain differentiation in the floor. He explains that several planks can be cut from the same piece of wood and those planks can end up in the same bundle. Since natural wood has variation, separating the planks can give your floor a balance of color and pattern.

Adhesive on the concrete floor.
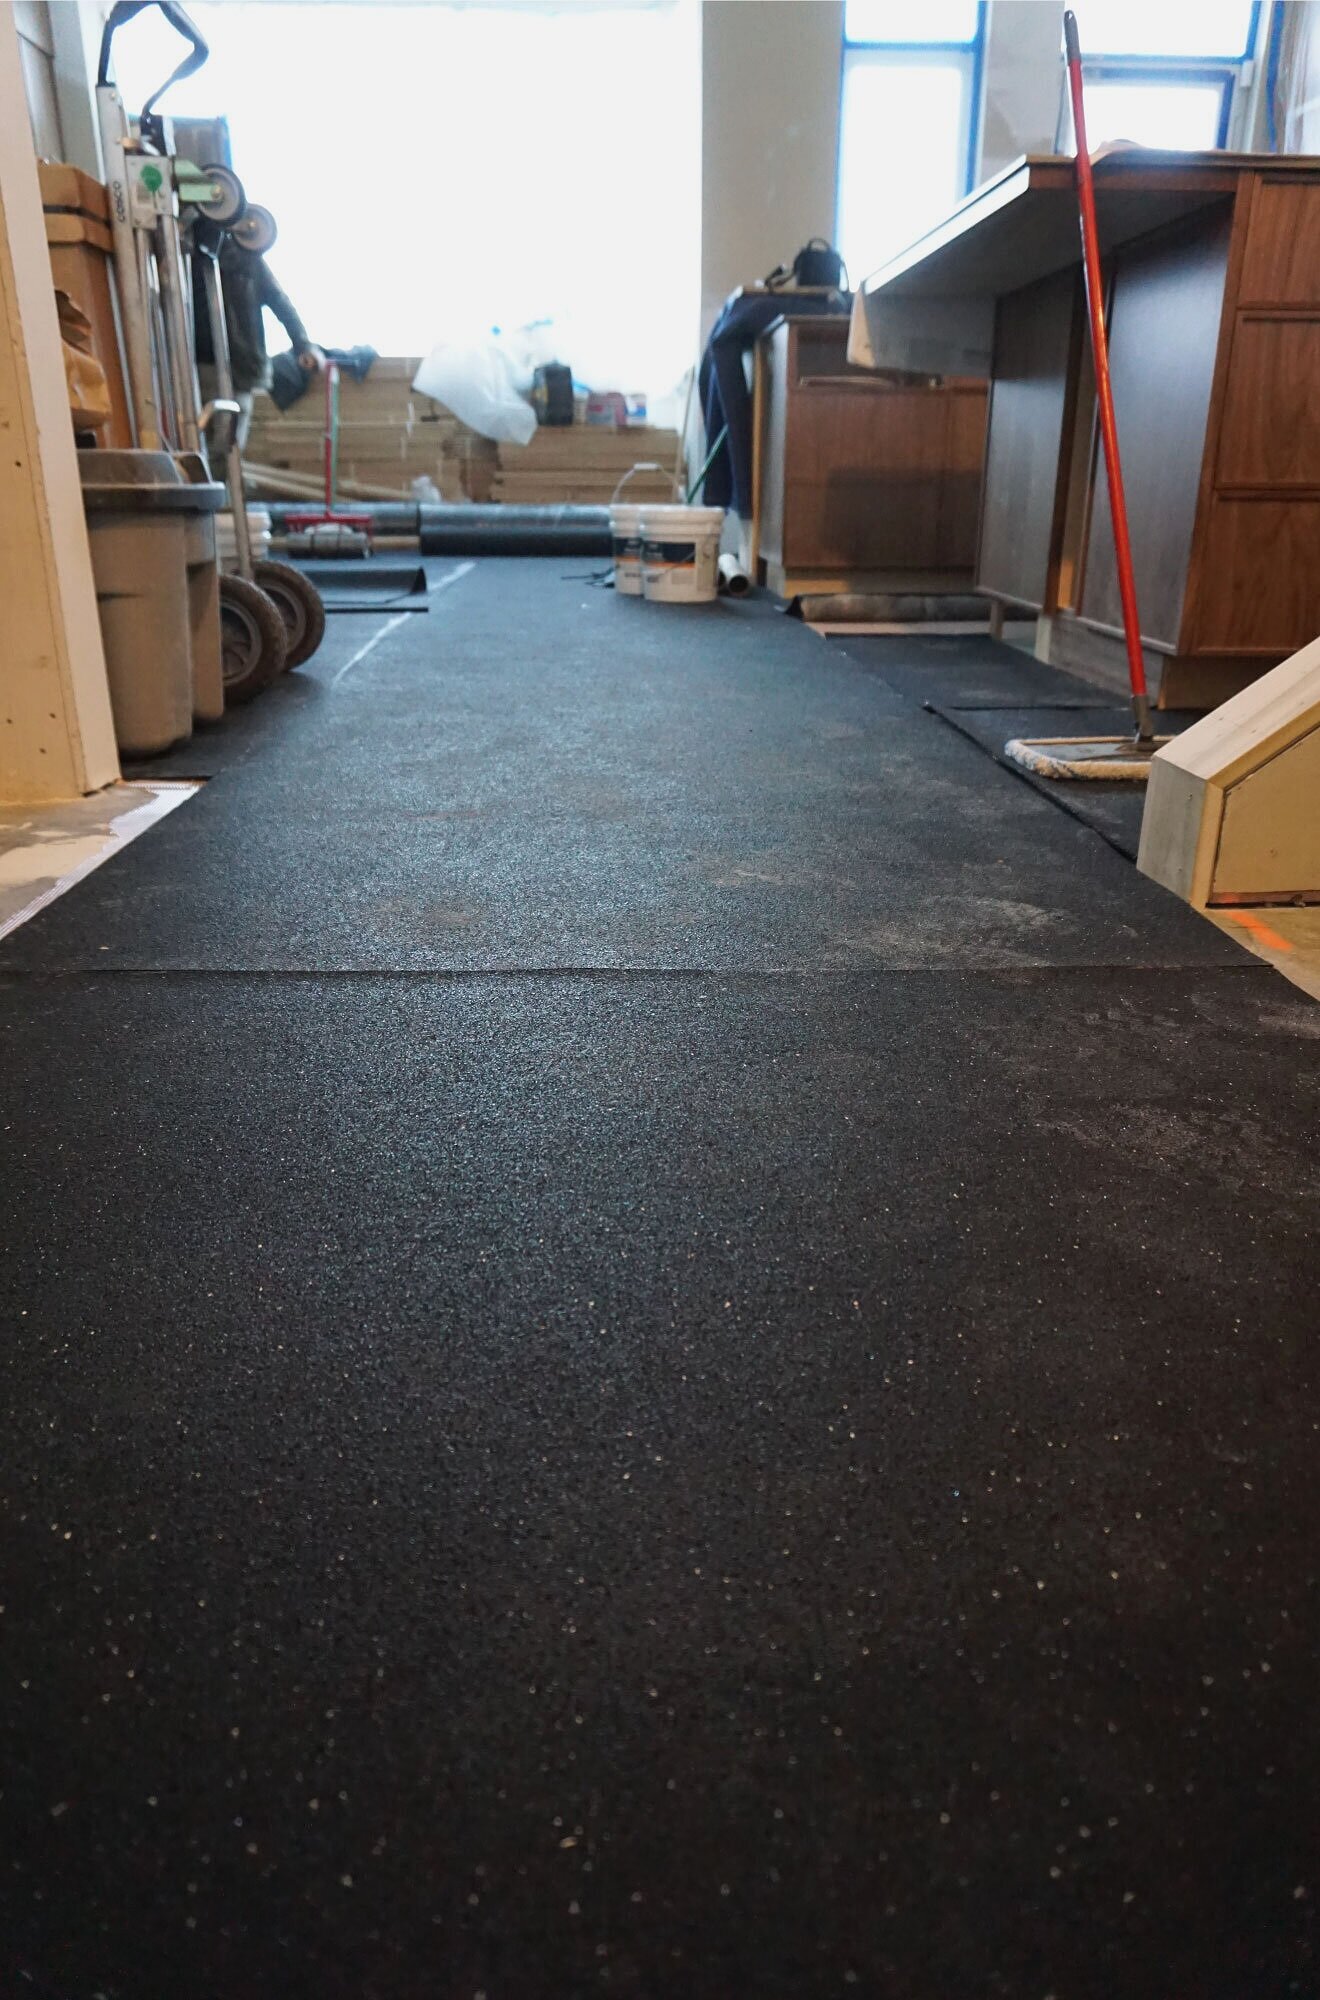
Padding rolled and glued to the floor.

Mixing your boxes.
Brundidge starts three boards wide before gluing them down. Using chalk to mark where the boards fit, he spreads the adhesive within the line to avoid making a mess of the work space. Once glued in place, a hammer and wedge is used to tighten the boards. This slow but meticulous process keeps the boards tight and the integrity of the pattern intact.

Hammer planks in place.
After mixing the bundles, they lay the wood planks out on the floor. Starting at the longest point of the floor, they begin laying the planks. You never want to begin in a small area and work into a bigger one; because, here’s a piece of key information - there is no such thing as a square walls. Meaning, no room is perfectly square. Therefore you may need to cut the boards at an angle to fit flush against the wall.

Laying the boards from the longest wall.
Lay, cut, chalk, glue, hammer, repeat – until the floor is complete. Finishing with the trim pieces, the final product is a beautiful hardwood floor that really elevates a room!
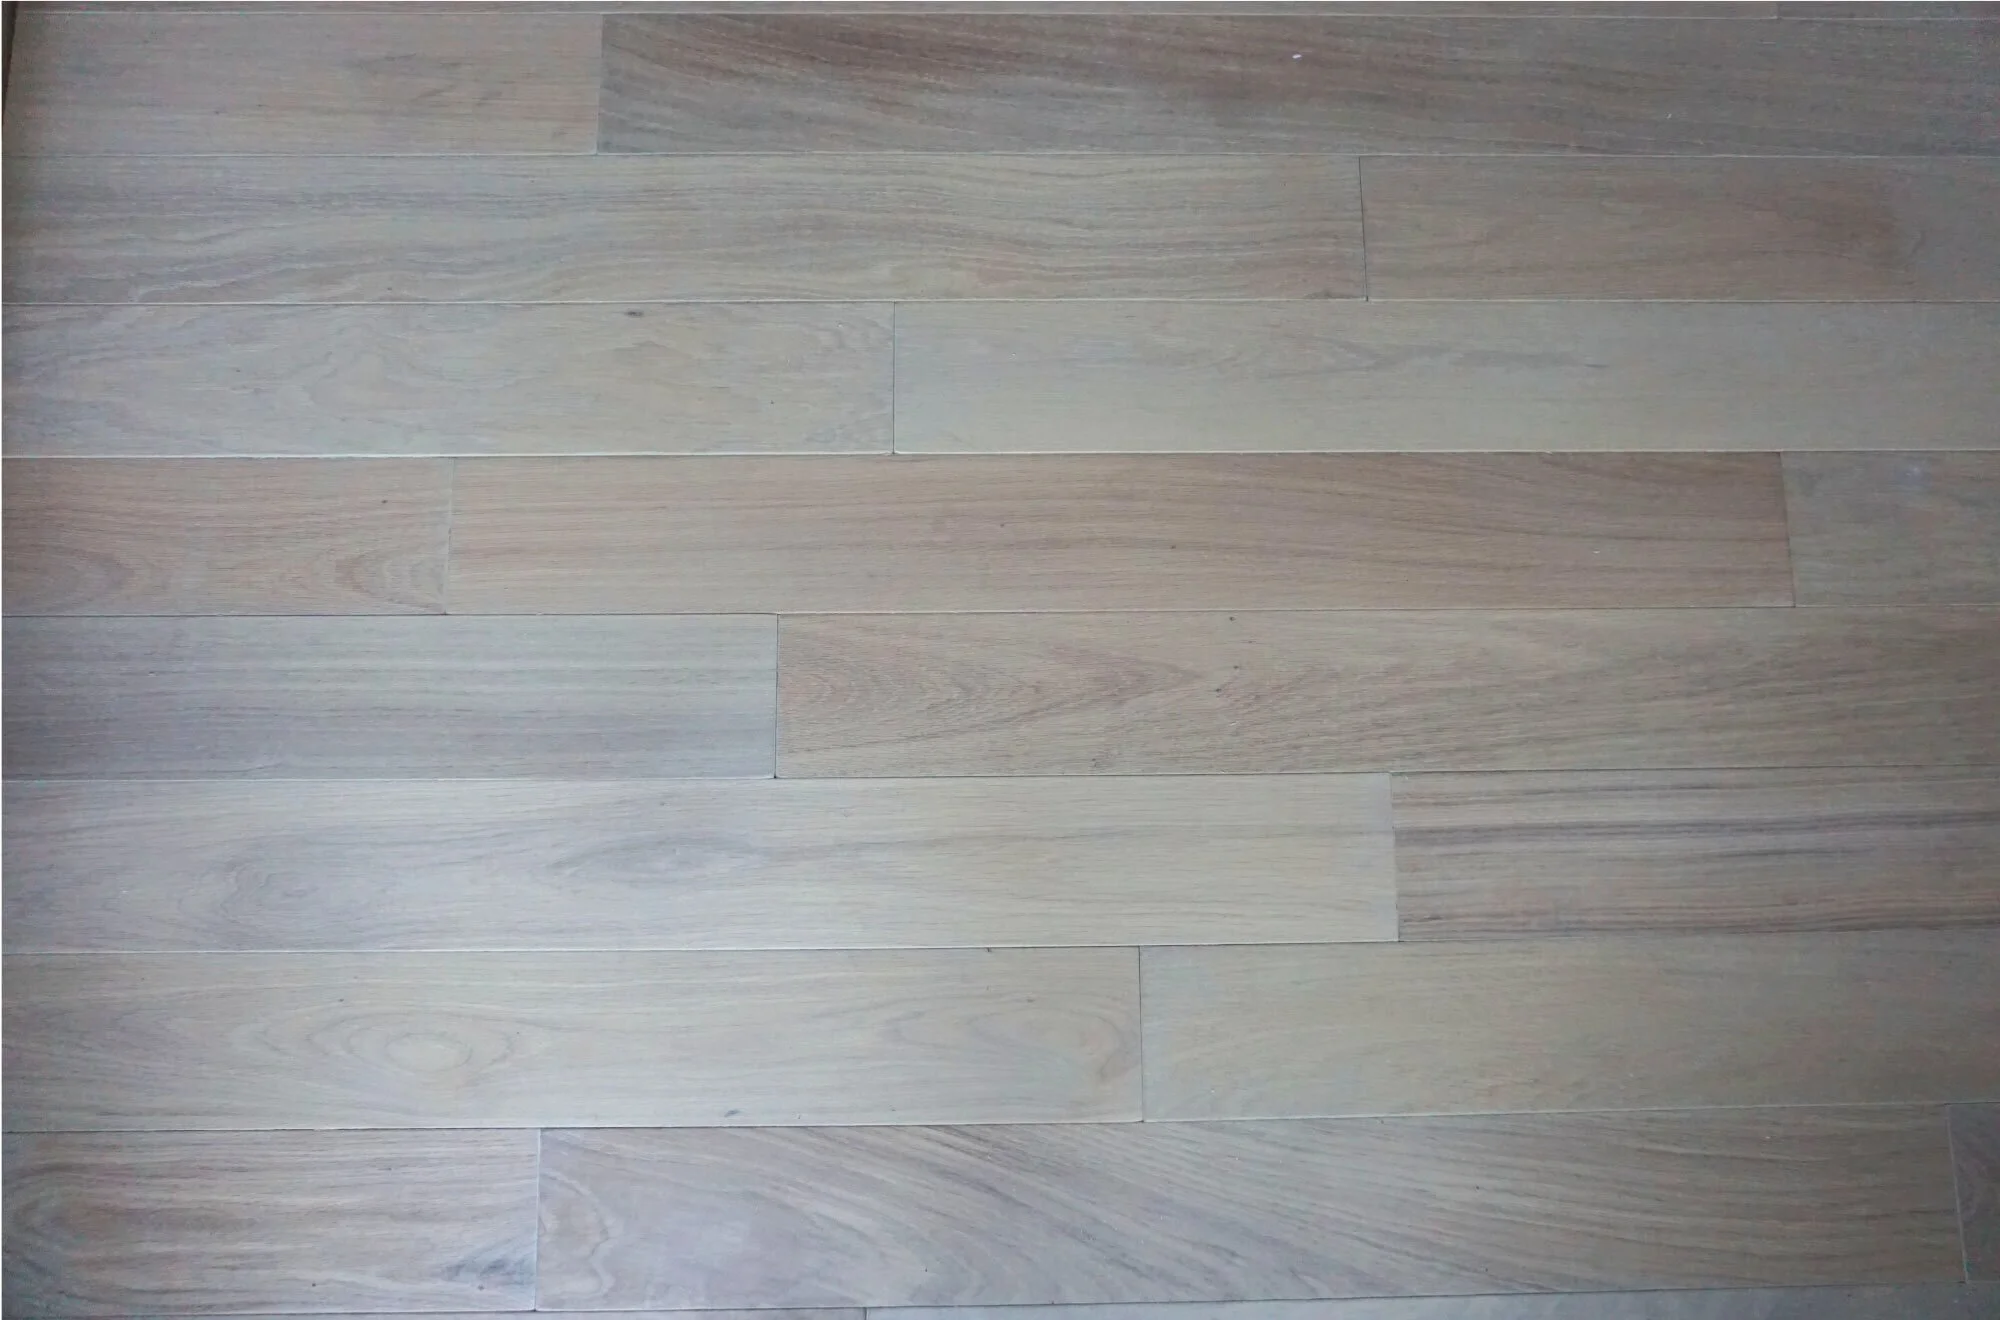
European white oak.
Hardwood: European White Oak, Castle Bespoke
Installer: Flawless Floors
Designer: Lord Interior Designs

Installed hardwood.